Enabling SSL in Paralus
Paralus uses domain based routing for zero trust kubectl access (ZTKA) and hence a domain name is required to access the Paralus dashboard. This document lists the steps to enable SSL for Paralus.
Overview
Enabling SSL can be done using different tools and ways. For the purpose of explaining how it works with Paralus, we will assume that you have installed Paralus with default settings. If you’ve followed any of our quick start guides to deploy Paralus, these steps will work.
Before we get into the actual steps, here’s an overview of the steps to be performed along with the tools used:
- Install Paralus
- Install LetsEncrypt Cert Manager - you can use any other similar tool
- Deploy ClusterIssuer & Certificate Objects
- Update annotations in HttpProxy
Let’s discuss each of the steps in detail.
Steps to Enable SSL in Paralus
Install Paralus
Based on the environment that you are using, you can refer to our installation documentation to install Paralus.
Install cert-manger
cert-manager is a tool that adds certificates and certificate issuers as resource types in Kubernetes clusters, and simplifies the process of obtaining, renewing and using those certificates. Read more about cert-manager.
While it supports helm installation, we’ll use the yaml file provided
kubectl apply -f https://github.com/jetstack/cert-manager/releases/download/v1.5.4/cert-manager.yaml
This will install all the required components and CRDs in a new namespace. To validate the installation, run the following command:
$ kubectl -n cert-manager get all

NAME                                             READY    STATUS     RESTARTS   AGE
pod/cert-manager-6dd9658548-4k8br                 1/1     Running   0          17s
pod/cert-manager-cainjector-5987875fc7-jqxjj      1/1     Running   0          17s
pod/cert-manager-webhook-7b4c5f579b-fcdmb         1/1     Running   0          17s

NAME                              TYPE      CLUSTER-IP          EXTERNAL-IP   PORT(S)       AGE
service/cert-manager            ClusterIP   10.245.254.139      <none>      9402/TCP    17s
service/cert-manager-webhook    ClusterIP   10.245.207.16         <none>      443/TCP       17s

NAME                                      READY   UP-TO-DATE   AVAILABLE   AGE
deployment.apps/cert-manager              1/1         1         1           17s
deployment.apps/cert-manager-cainjector   1/1         1         1           17s
deployment.apps/cert-manager-webhook      1/1         1         1           17s

NAME                                                DESIRED   CURRENT   READY   AGE
replicaset.apps/cert-manager-6dd9658548                 1       1         1     17s
replicaset.apps/cert-manager-cainjector-5987875fc7    1         1         1     17s
replicaset.apps/cert-manager-webhook-7b4c5f579b         1       1         1     17s
Deploy ClusterIssuer and Certificate Objects
cert-manager supports two different CRDs for configuration:
Issuer, which is scoped to a single namespaceClusterIssuerwhich is scoped to an entire cluster
Paralus is installed in a separate namespace, if you want to create a single Issuer that can be consumed in multiple namespaces, you should consider creating a ClusterIssuer resource. This is almost identical to the Issuer resource, however this is non-namespaced so it can be used to issue certificates across all namespaces
Note: Our default Paralus installation assumes that it is the only deployed application on a cluster and there are no other ingress, cert-issuers etc. present. In case you have multiple other ingresses present, you should use
Issuerinstead and deploy it on the same namespace as Paralus. Read more: Difference between Issuer and ClusterIssuer
Create a file called letsencrypt-prod.yaml with the following contents:
apiVersion: cert-manager.io/v1
kind: ClusterIssuer
metadata:
 name: letsencrypt-prod
 namespace: cert-manager
spec:
 acme:
   email: user@email.com
   privateKeySecretRef:
     name: letsencrypt-prod
   server: https://acme-v02.api.letsencrypt.org/directory
   solvers:
   - http01:
       ingress:
         class: contour
replace the email with your email id. This is used by Let’s Encrypt to communicate with you.
We are using letsencrypt-prod directly instead of letsencrypt-staging. The difference between letsencrypt staging and production is that the CA is production is trusted while the staging CA isn’t. You can read more about letsencrypt here.
Apply this file and deploy the ClusterIssuer object
$ kubectl apply -f letsencrypt-prod.yaml
clusterissuer.cert-manager.io/letsencrypt-prod created
It takes a few seconds for the ClusterIssuer to be active, you can check whether it’s active or not using the following command
$ kubectl get clusterissuer letsencrypt-prod

NAME                  READY   AGE
letsencrypt-prod      True    54s
Once the ClusterIssuer is ready, we create a certificate object. Create a new file cert.yaml with the following content:
apiVersion: cert-manager.io/v1
kind: Certificate
metadata:
 name: consoleparalus
 namespace: paralus
spec:
 commonName: console.paralusdemo.com
 dnsNames:
 - console.paralusdemo.com
 issuerRef:
   name: letsencrypt-prod
   kind: ClusterIssuer
 secretName: consoleparalus
Provide the FQDN of your Paralus deployment for commonName and dnsNames. You can get the name with this command kubectl get httpproxy --all-namespaces and provide the FQDN name console.
Apply this certificate using the following command:
kubectl apply -f cert.yaml
It will take a while for the certificate to deploy. It also creates a secret with the certificate details that will be used by the http proxy to enable secured communication.
$kubectl get certificate --all-namespaces

NAMESPACE   NAME              READY   SECRET          AGE
paralus     consoleparalus    True  consoleparalus    17s
It also creates a secret that will be passed on to the httpproxy
kubectl get secrets -n paralus

NAME                TYPE               DATA   AGE
consoleparalus      kubernetes.io/tls   2     1m
At this point, our Issuer is ready along with the certificate. It’s time to configure our httpproxy to use the generated certificate.
Update annotations in HttpProxy
The final step is to edit annotations and TLS values in the console httpproxy.
Add the following as part of annotation:
…
cert-manager.io/cluster-issuer: letsencrypt-prod
kubernetes.io/tls-acme: "true"
…
Update the virtualhost and add tls along with the secretName
…
 virtualhost:
    fqdn: console.paralusdemo.com
    tls:
    secretName: consoleparalus
…
Make these changes and save the file. If all the configuration is done correctly, the httpproxy will be updated with the provided TLS. You can confirm that with the following command:
$ kubectl get httpproxy --all-namespaces

NAMESPACE   NAME                      FQDN                                TLS SECRET      STATUS   STATUS DESCRIPTION
paralus     console                 console.paralusdemo.com             consoleparalus    valid     Valid HTTPProxy
paralus     ztka-core-connector     *.core-connector.paralusdemo.com                      valid     Valid HTTPProxy
paralus     ztka-user               *.user.paralusdemo.com                                valid     Valid HTTPProxy
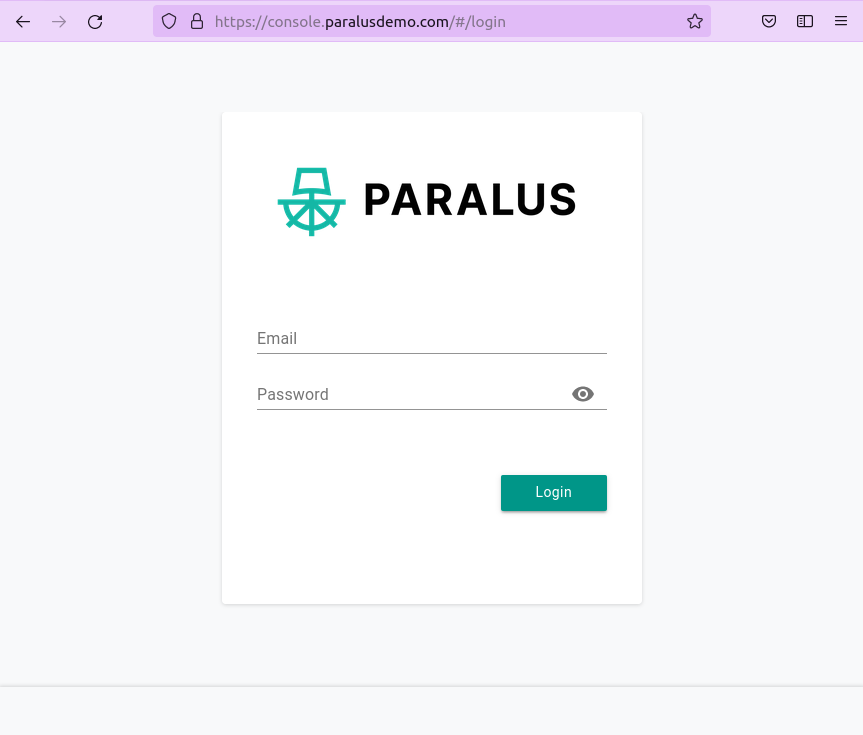
At this point when you access the Paralus dashboard, you should be able to see the padlock in the address bar which confirms that SSL has been successfully enabled for Paralus.
Read more about features of Paralus
